I’ve been 3D printing for a few years now, and it never ceases to amaze me how much you can do with a 3D printer and some filament.
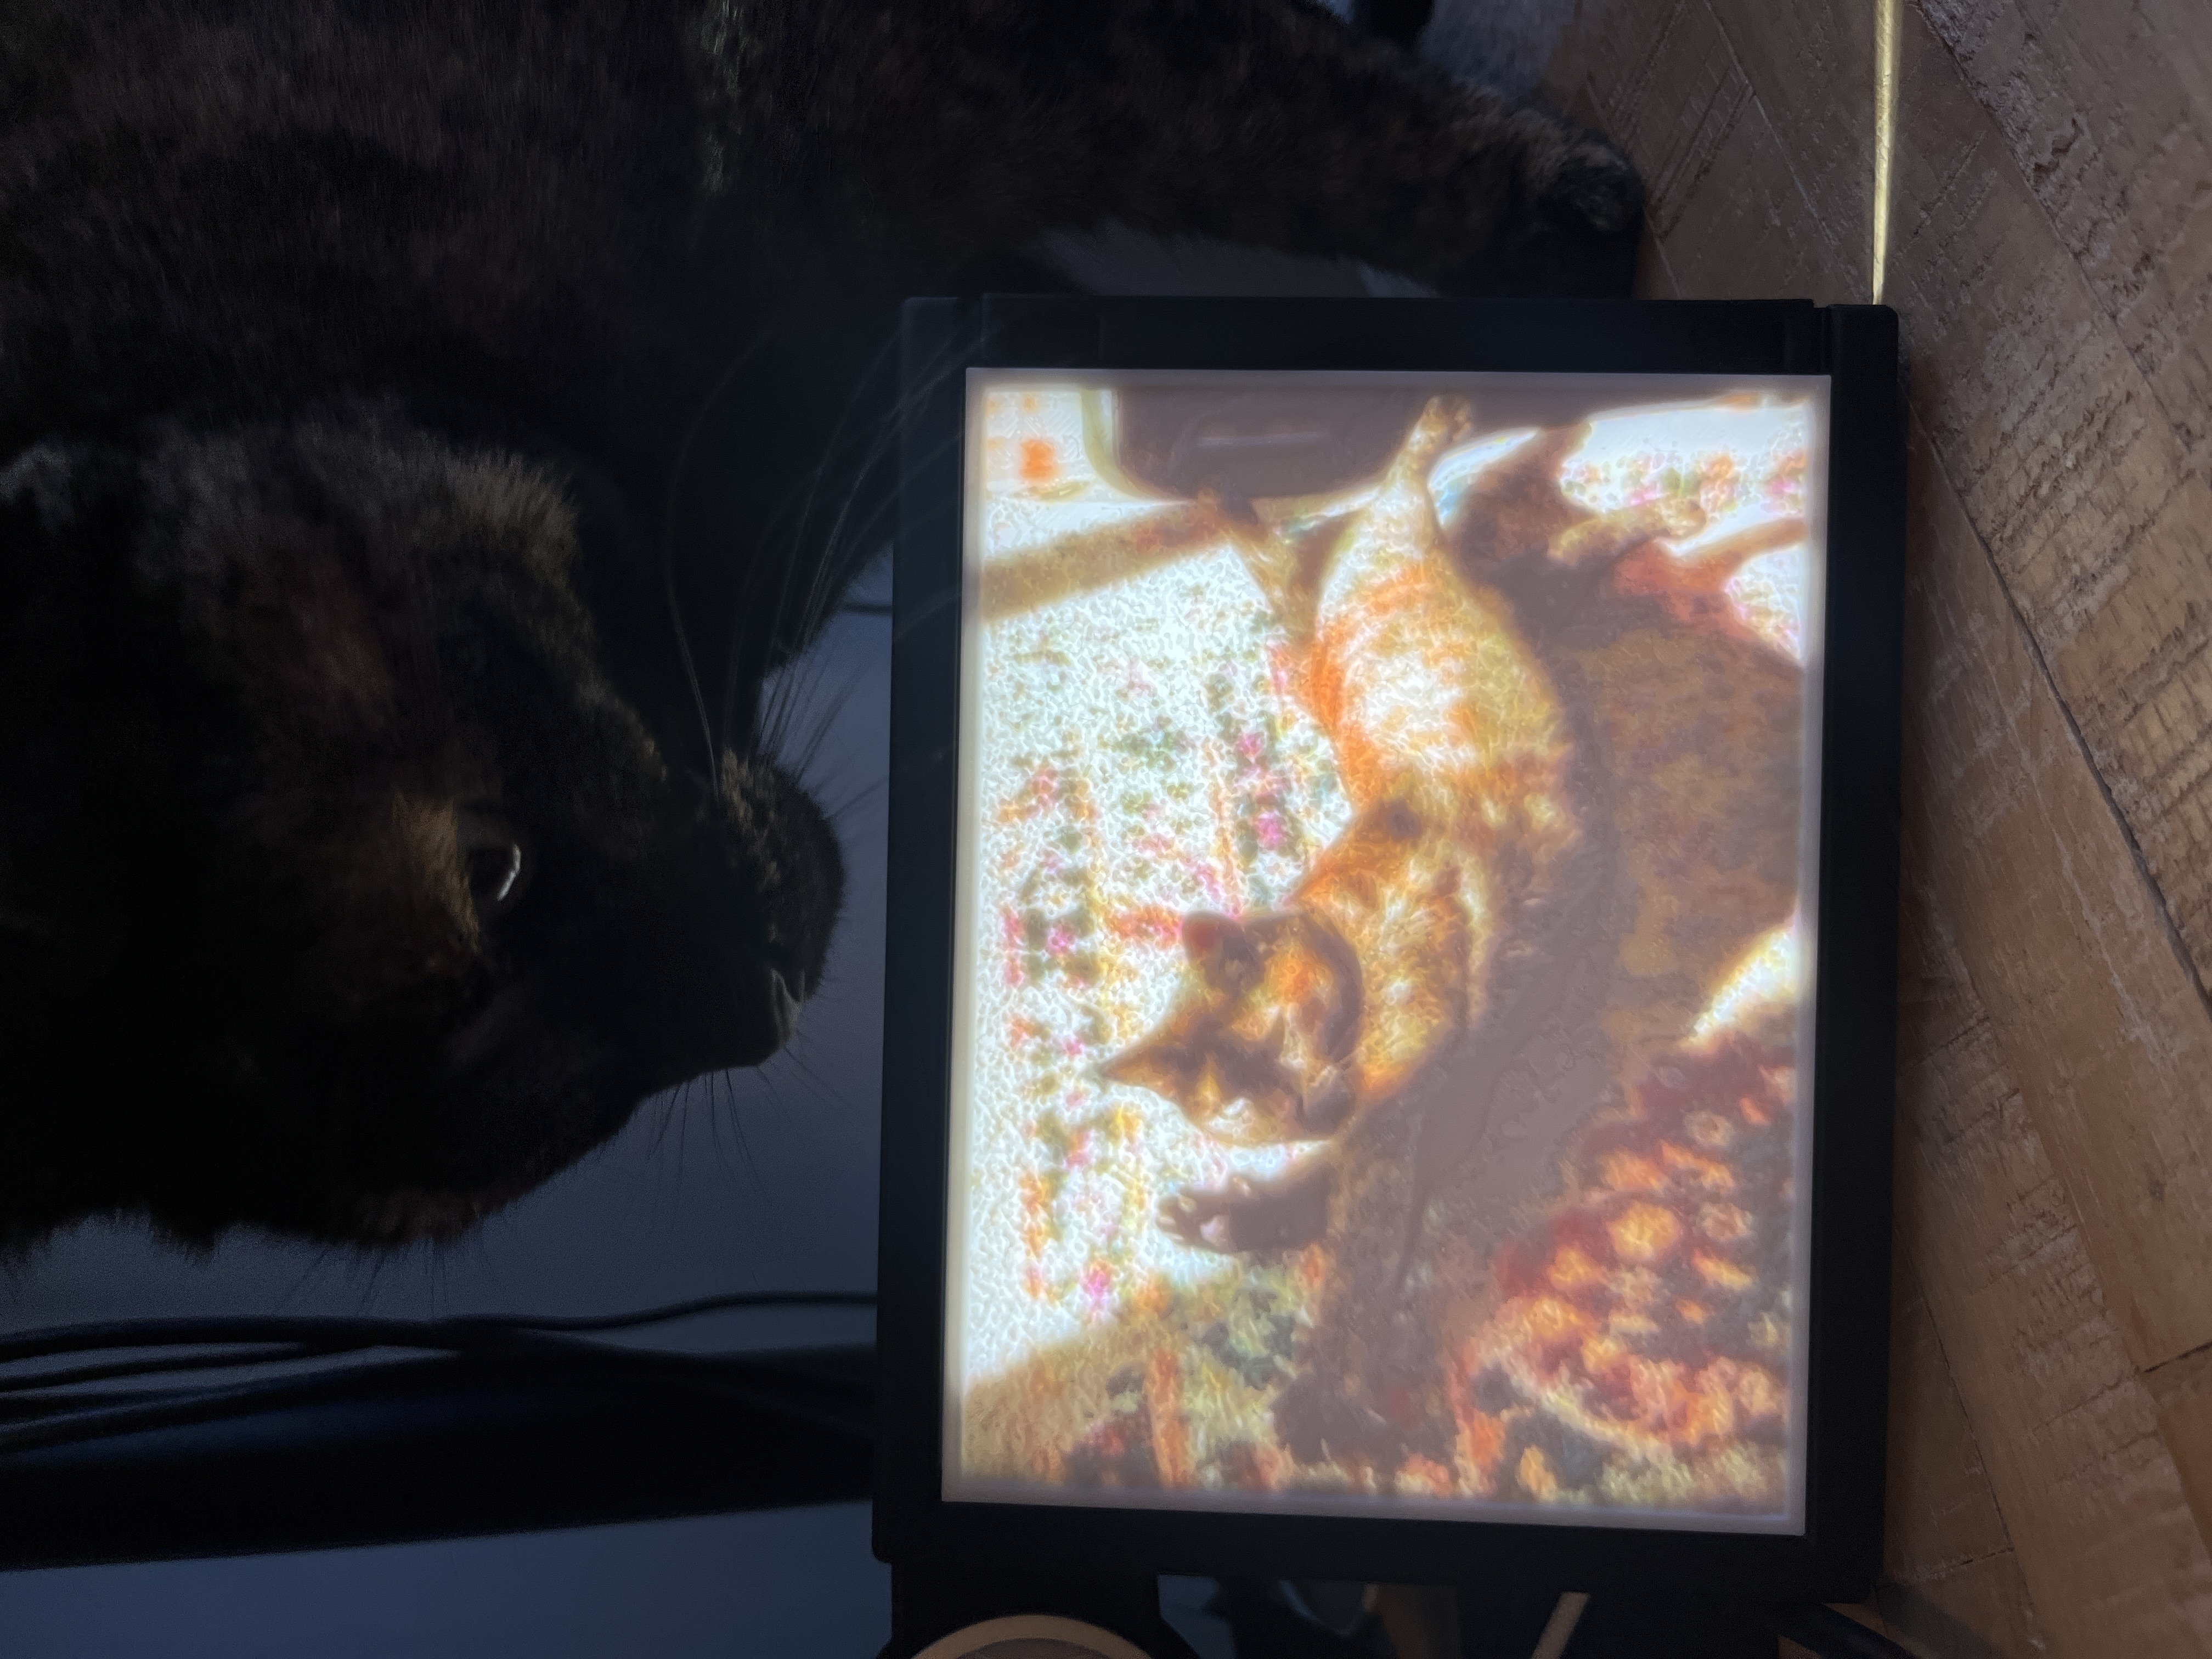
Recently, I’ve started experimenting with lithophane prints. Here’s one I made of my cat:
This only took 3 hours to print, and it turned out great. So what is lithophane, you may ask?
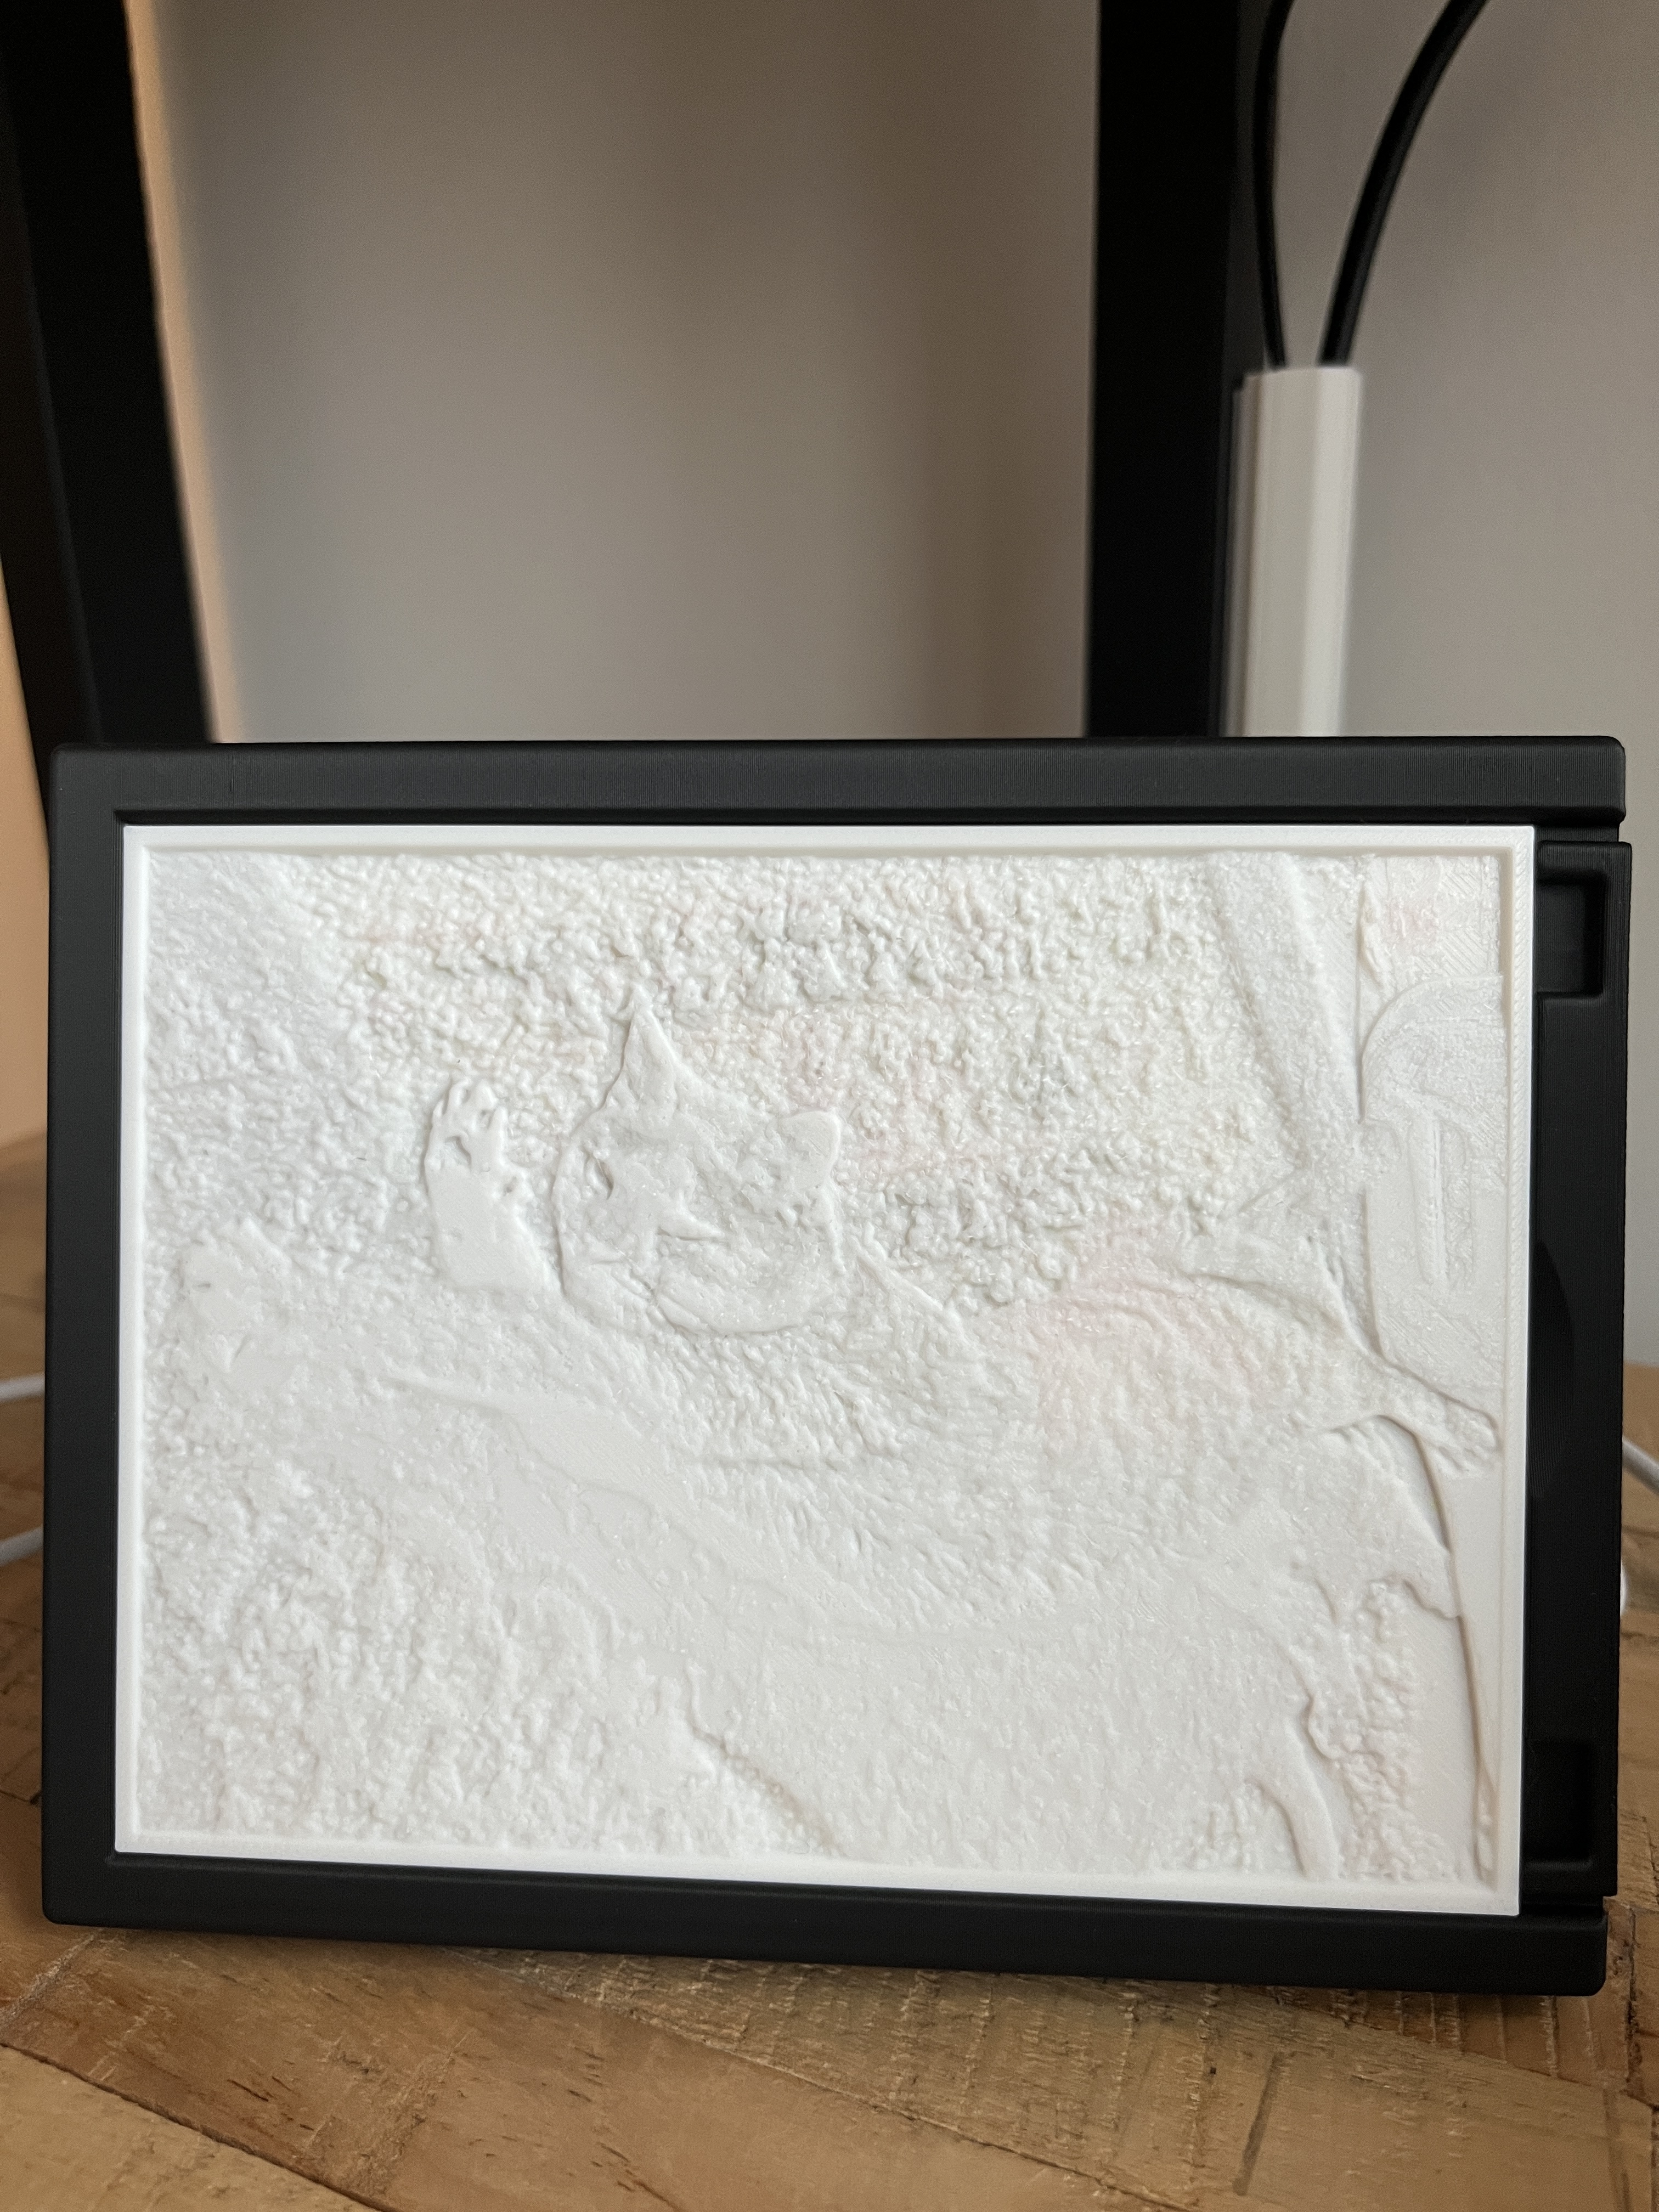
In short, a lithophane is an image created by varying thickness of material in a design, making it visible only when light shines through it.
Here is that same print without light:
You can date lithophanes back to the 1820s, when they were mostly made from porcelain. Thanks to 3D printing, you can now easily make these at home.
You need a few tools to get started, but the process is relatively simple.
What You’ll Need
- A 3D printer: I personally use the Bambu P1S.
- Filament: White works great for B&W images, but for colored prints, you have to use CMYK (cyan, magenta, yellow, and white).
- Lithophane generator: I used Maker Lab’s generator from Bambu, which works regardless of what printer you have, but requires an account. If you don’t want to make one, 3dp.rocks works well too.
- An image: High-contrast images work best.
- A light source: Any LED light source will do, but the brightness needed will depend on the thickness of your print. For a permanent setup, I recommend using an LED backlight board—I got this one for $4.
The Process
Step 1: Choose your Image
Pick a high-contrast image for best results.
Step 2: Generate the Lithopane
Upload your image to the lithophane generator to turn it into a 3D model. Adjust the settings to your liking:
- Size: Scale the image to fit the size of your print bed.
- Shape: Your 3D print doesn’t have to be flat. You can print it in any shape you’d like (e.g: sphere, curved).
- Thickness: Set the thickness of the lithophane. The thicker it is, the more detail you’ll get, but you’ll need a brighter light to see the image.
Once you’re satisfied, download the .stl file.
Step 3: Print
Load the .stl file into your slicer & print the lithophane. Use a fine layer height (e.g 0.1mm) for the best results, and set infill to 100% to avoid light gaps.
Step 4: Assemble
Once the print is done, remove any supports and clean up the print. Then, place the lithophane in front of a light source to reveal the image.
Conclusion
With the holidays around the corner, a lithophane portrait can make a great gift for friends and family.
If you have a 3D printer and want to win Christmas this year, I highly recommend giving it a try.

